Admin Configuration Guide
This guide covers the connector's admin portal, used to connect HubSpot, tune agent behavior, manage dispositions, and handle licensing. It assumes the connector has already been deployed.
Accessing the admin portal
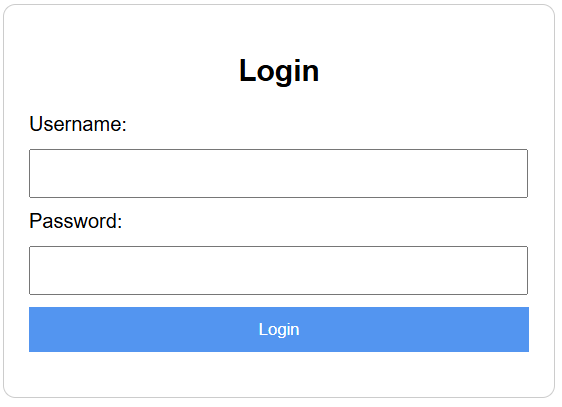
- Navigate to your connector's bare FQDN, e.g.
https://connector.yourcompany.com. - Log in with the admin credentials provided during deployment.
The admin portal has four sections, accessible from the top navigation: Home (release notes), Settings, License Details, and Logged-in Agents.
Connecting HubSpot
If the app hasn't been installed in your HubSpot portal yet, click Install HubSpot in the admin header. This starts the same OAuth install flow described in the Deployment Guide — you'll be asked to approve the permissions the connector needs (contacts, deals, tickets, companies, calls, and communications).
Toggle settings
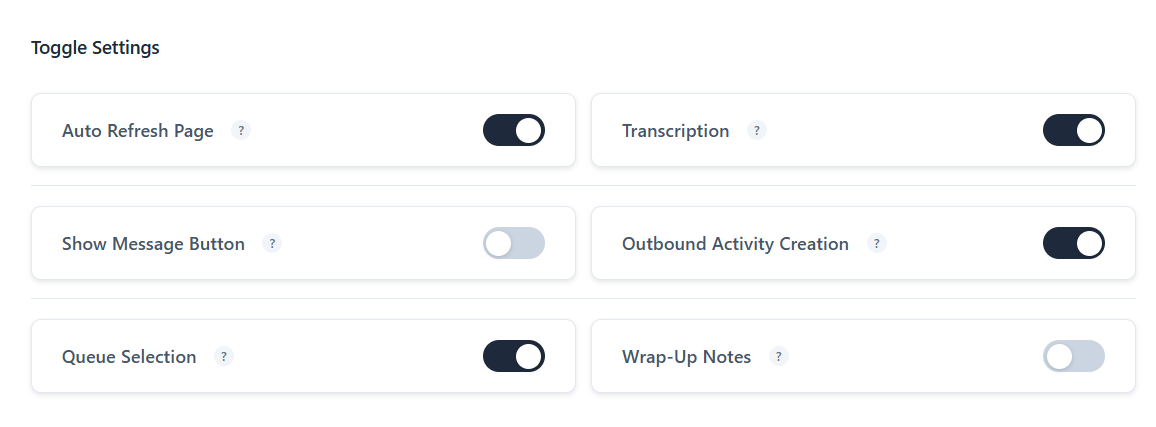
From Settings, four toggles control agent-facing behavior:
| Toggle | What it does |
|---|---|
| Outbound Activity Creation | When on, an activity is created in HubSpot for anonymous outbound calls (calls not linked to a known contact). When off, no activity is created for those calls. |
| Transcription | Enables or disables call/chat transcription. When on, transcripts are attached to the HubSpot engagement after the call ends. |
| Queue Selection | When on, agents can choose a queue before placing an outbound call. When off, that option is hidden and outbound calls use the default queue. |
| Wrap-Up Notes | When on, agents are shown a disposition and note form after each call ends (see the Agent User Guide). When off, calls are logged automatically with no wrap-up step. |
Screenpop configuration
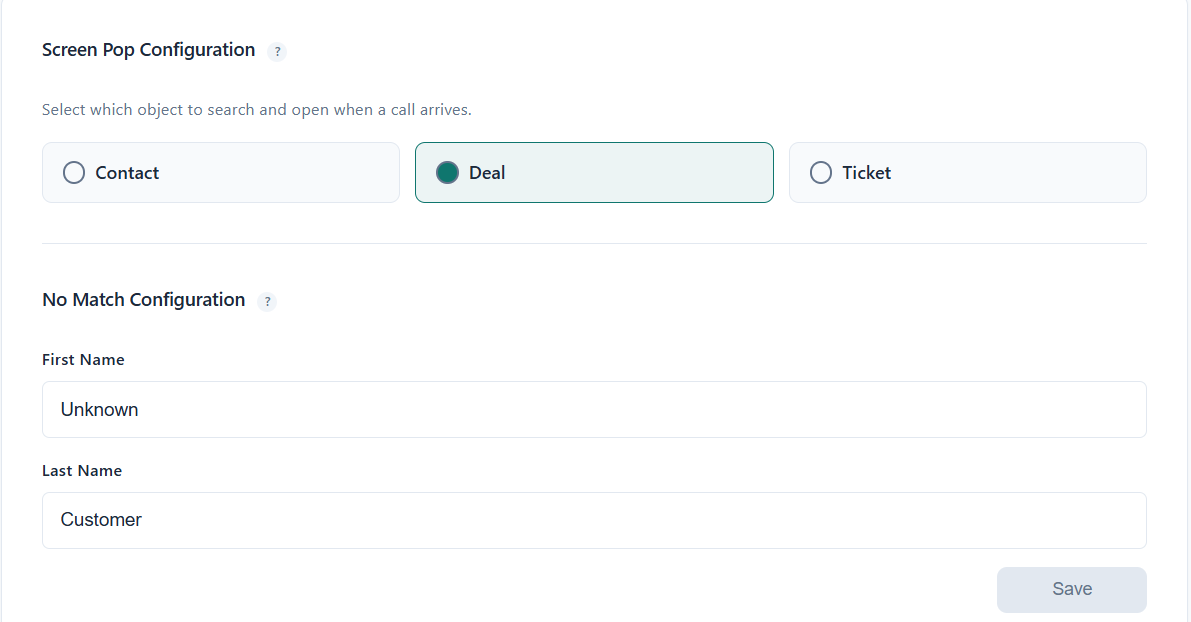
Under Screen Pop Configuration, choose which HubSpot object type the connector searches and opens when a call or chat arrives: Contact or Deal. This determines what agents land on during screenpop.
No-match configuration
If an inbound number doesn't match any existing HubSpot contact, the connector creates one automatically and displays a placeholder name until the agent (or a later HubSpot update) fills in the real details. Set the First Name and Last Name used for that placeholder here — the default is "John Doe" if left blank.
Engagement configuration
Attributes
Under Engagement Configuration, enter any AWS Connect contact attributes you want captured and shown in the HubSpot call description — comma-separated (e.g. queue_name, campaign_id). Once saved, these appear in the call description automatically after each call ends.
Dispositions
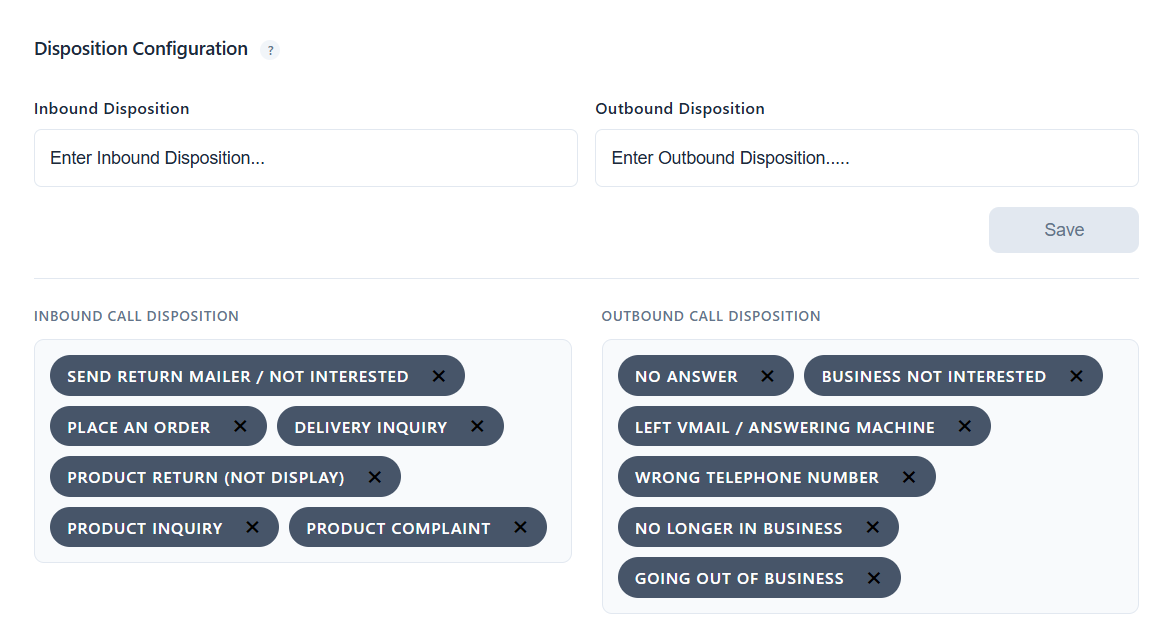
Under Disposition Configuration, enter your inbound and outbound disposition lists, comma-separated (e.g. Resolved, Follow-up needed, No answer for inbound). These populate the wrap-up dropdown agents see after a call — inbound and outbound calls have separate lists. Existing dispositions are listed below the form and can be removed individually.
License management
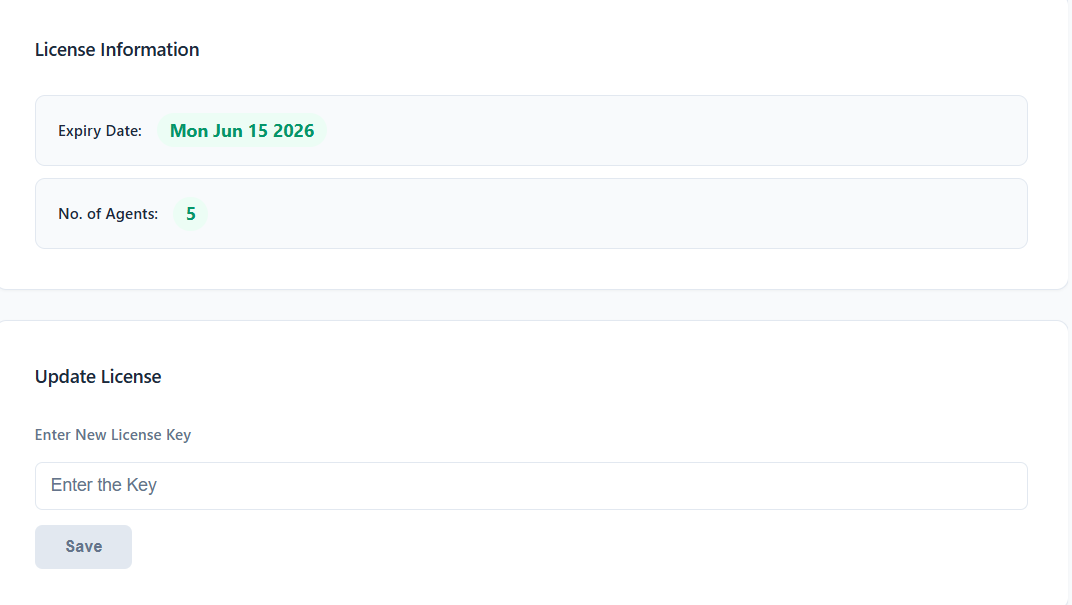
Under License Details:
- License Information shows your current license status — customer name, HubSpot portal, expiry, and seat count.
- Update License lets you paste in a new license key if you've received a renewal or seat change from Octave Bytes.
Managing logged-in agents
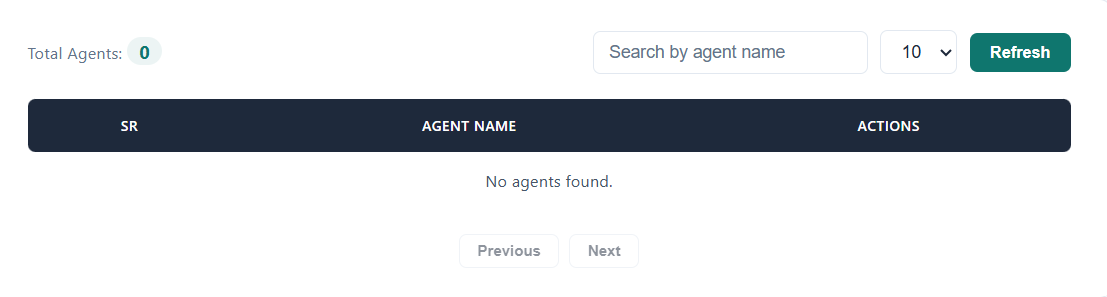
Logged-in Agents lists every agent currently signed in, with their name, username, and agent ID. Use Refresh to update the list, and use the row actions to remove a stale or unwanted session — useful if an agent's device was lost or they're locked out and need a clean re-login.
Next steps
- Rolling out to your first agents? Point them to the Agent Setup Guide.
- Running into an issue? See Troubleshooting & FAQ.